
Before and After: Pedestal Table Transformation

A few weeks ago, I ventured out to an estate sale. (If you’re interested in estate sale shopping, check estatesales.net ) And there, off in the corner, I spotted this pedestal table. I wasn’t fond of the color of the wood. But I did appreciate its architectural pedestal and its small size. (I love a 30” diameter tables.) I could see this working as an oversized size table, used for dining or even in the entry. It was also only $50 (this was on a 50% off Sunday) so I decided to take the plunge.
I do have some great historic company when it comes to my love of the pedestal table. This was the type of table preferred by the Romans who reclined while dining. (I delve more into the history of Roman dining in my book, Elements of a Home.) They would have pulled up a group of couches (sort of like how I have it, in the photo above). It was a style appreciated by the Victorians. Then the form took off in the mid-century, when Eero Saarinen used the form for his beloved Tulip Table.

The table , en situ, at the estate sale.


The finish is quite worn on the top. I also didn’t really like the red undertones.

I set up with a hose, Citristrip and a wire brush. It was a lot of work!

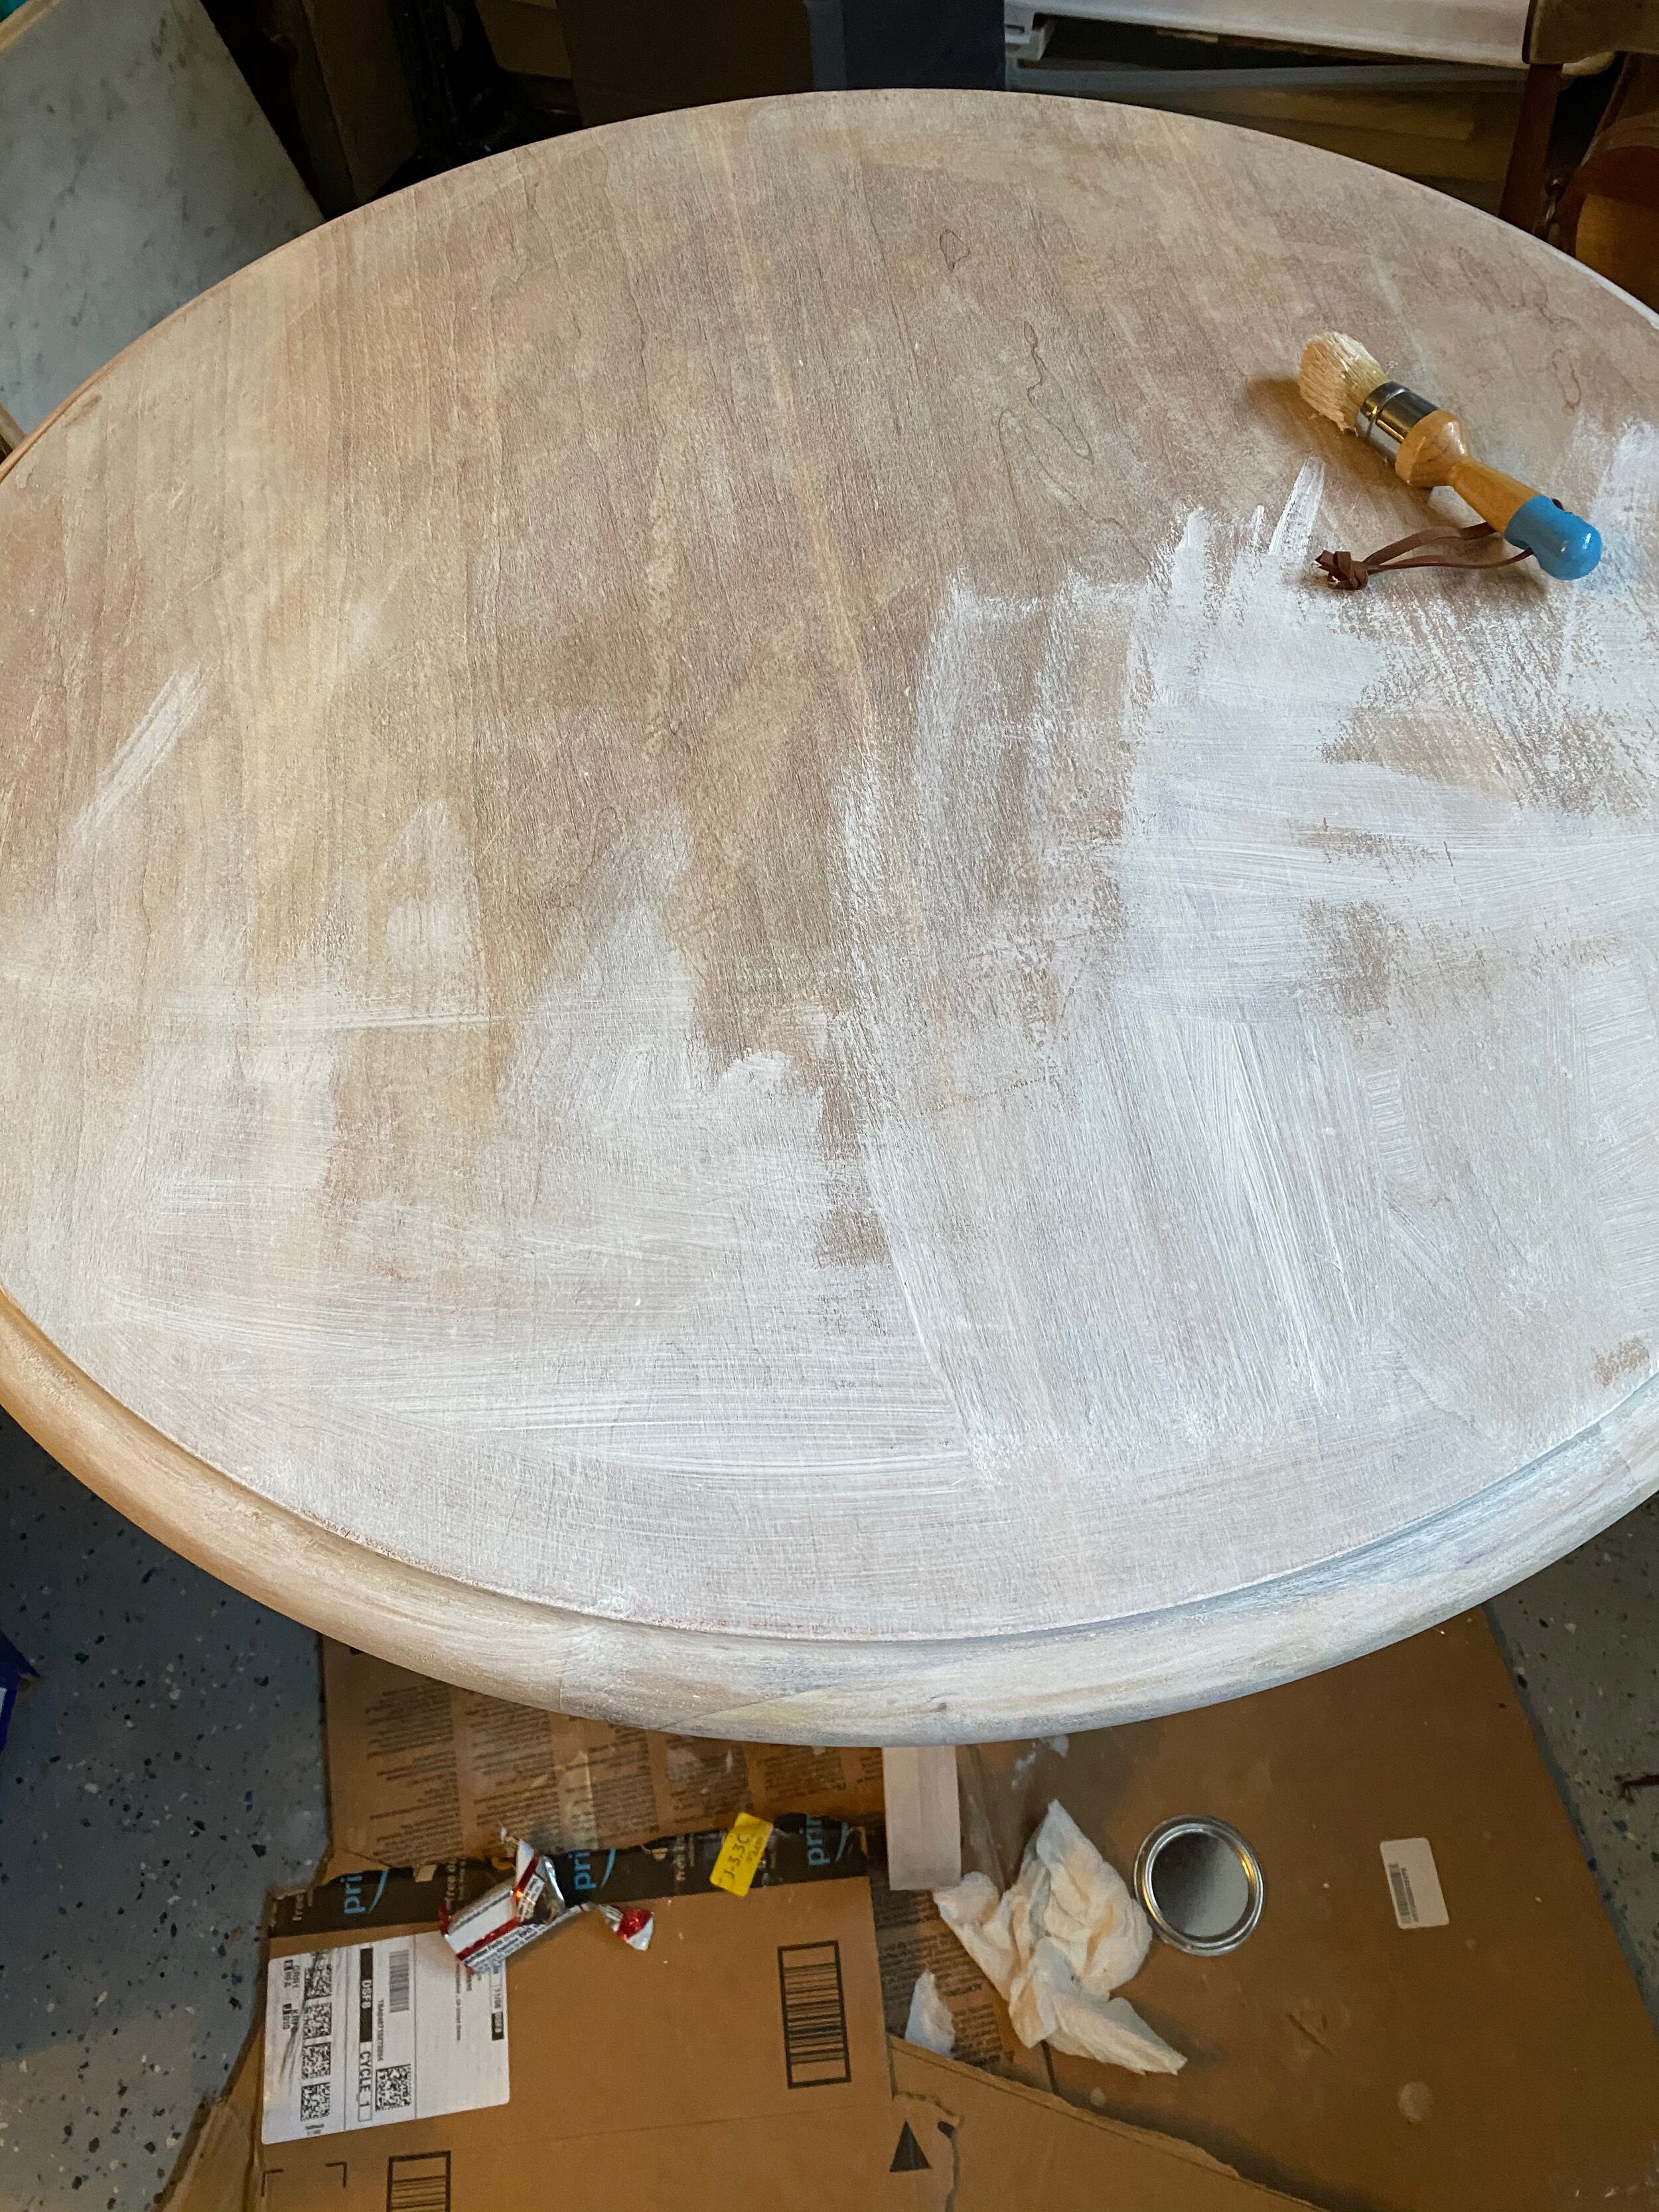
Applying the first layer of liming wax.

The Project
Strip the paint.
I mostly used Citristrip and it worked really well. The key was to apply it outside and scrub it with a wire brush. I periodically hosed off the table, which kept the stripper activated. (If you let it dry, its a beast to get off unless you douse it with water.)Sand
Bleach. I experimented with a couple of different wood bleaches, but found I liked household bleach the best.
Apply liming wax (according to package instructions). In hindsight, I wish I had left the wood raw (and done a simple wax). I also toyed with the idea of staining it black. Once, I went down the lime wash road, I couldn’t go back (I did try, but then just wanted to be done.)
Side Note: Definitely wear gloves and protective equipment when applying the stripper! I was a little caviller about this piece of the equation and ended up with chemical burns. So just order the protective gear (goggles, two layers of gloves) when you order the supplies. Also, I didn’t have enough ventilation with I was working with the bleach and ended up with a horrible migraine. Lessons.